Winter Porch Pots: Cold-Hardy Evergreen Urns That Look Expensive
A winter urn is a florist's recipe, not a bundle of boughs -- a live or cut thriller, layered fir and cedar filler, bare branches for height, and a frost-proof pot that won't crack in a hard freeze. Here's how to build one that still looks pulled-together in February.

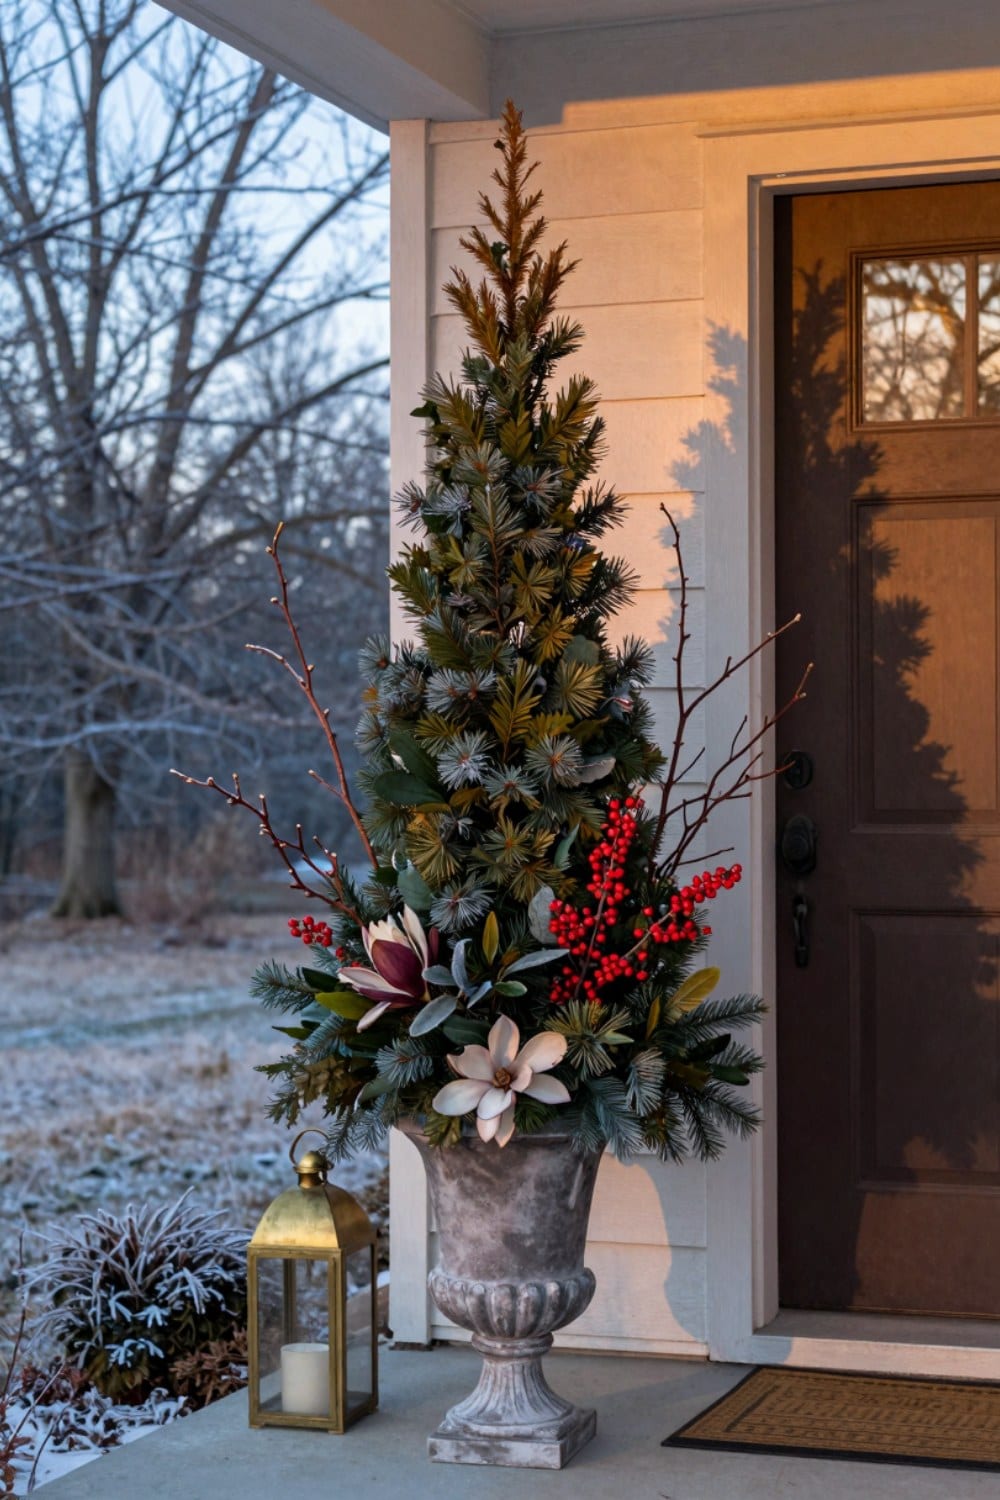
A porch dressed for October collapses fast once the calendar tips into December. The pumpkins are gone, the mums went to compost weeks ago, and whatever's left standing is whatever happened to survive the first hard freeze. It doesn't have to end there. A winter urn built the way a florist builds a centerpiece -- height, body, and one seasonal moment of color -- holds its composition through the coldest months, for the cost of an afternoon of cutting and a pot that's actually built to survive a freeze.
The porches that still look finished in February didn't get there by dragging a poinsettia out to the step. They got there because someone treated the urn like a recipe instead of a grab-bag of whatever greenery was left at the tree lot -- and because the container itself was chosen to survive winter, the part almost nobody thinks about until theirs has already cracked clean down one side.
Build It Like a Recipe, Just for Winter
Every winter urn still holding its shape in February is built from the same roles working together, not one bundle of boughs stuffed into a pot. A thriller for height. A filler for body. Something trailing over the rim. Bare branches for structure and movement. And one seasonal accent that tells the eye it's looking at winter, not just green.
This is what replaces a fall container that held on into November, once a hard freeze takes the kale and grass down for good. Skip two or three roles and it reads like a hedge clipping propped in a pot; get all five in and it holds the porch through the darkest months of the year. For the rest of the scene -- lighting, layered textiles -- that ground is covered here; this is what's arranged in the container underneath it.
The Thriller: A Live Dwarf Conifer or a Tall Cut Centerpiece
Your tallest element sets the whole urn's posture, and you've got two honest ways to get there. A live dwarf conifer -- dwarf Alberta spruce is the classic choice, tight and cone-shaped, structured enough to hold its own shape unstyled -- gives you a thriller still standing in March, one you can move into the ground once the season turns. Or build a cut centerpiece instead: three or four tall stems of noble fir or blue spruce, bundled and anchored deep in damp soil, no roots required.
Live costs more upfront and needs a slightly bigger pot for root room. Cut costs far less and is entirely disposable come spring -- pulled with the rest of the greens. Neither is the correct choice; it's a question of whether the container should do double duty into next year.
The Filler: Layer In Fir, Cedar, and Pine
Once the thriller's in, build the body with mixed evergreen boughs rather than one variety on repeat. Noble fir gives flat, glossy sprays with real presence. Cedar is softer and feathery, filling gaps without looking stiff. White pine adds a longer, wispier needle that catches light differently than either. Layer two or three types together and the urn reads full and considered, not like a single shrub sheared into a pot.
Push the boughs in at slightly different angles and depths rather than all pointing straight up -- that's what keeps a mass of green from reading as a solid block. A little irregularity here is doing most of the work.

The Spiller: Something Trailing Over the Rim
Every good container needs something breaking the hard line where the greenery meets the rim, and in winter that job usually falls to trailing cedar or fresh eucalyptus. Both drape naturally over the edge, and eucalyptus adds a cool silvery note plus genuine scent -- a small thing that makes a porch feel considered up close, not just from the street. Tuck the trailing stems in low, around the base, so they read as growing out of the arrangement rather than added on top of it.
Add Height and Movement With Bare Branches
Once the green is filled in, add branches for height and line -- this is the step most winter urns skip, and it's the one that keeps them from reading as a flat mound of conifer. Red or yellow twig dogwood is the classic choice: bare stems in saturated color that stay bright against snow and grey winter light long after every leaf is gone. Curly willow adds sculptural, twisting movement instead of color. White or paper birch stems bring texture -- papery bark that catches light nothing else in the urn does.
Cut the branches taller than your thriller, not shorter, and push them in toward the back or one side. Height is the whole point of this step; keep them low and they disappear into the greenery around them.
The Seasonal Accent That Says Winter, Not Just Green
The last layer tells a passerby's eye it's looking at winter specifically, not a generic evergreen topiary. Winterberry does this better than almost anything else -- bare branches studded with small red berries, holding through the coldest months since birds leave them alone until late season. Magnolia is the other classic option: glossy dark-green leaves with a soft bronze underside, tucked in as single stems for a formal note. A handful of pinecones wired onto floral picks does the same job in miniature.
Use one accent, not three. This is the step where more starts working against you -- a single strong seasonal note reads as intentional; three competing for attention reads as cluttered.
Live Plants or Cut Stems -- Which to Build With
This is worth deciding before you buy anything. Live plants -- dwarf Alberta spruce, boxwood, a compact wintergreen conifer -- go into potting soil and stay rooted through the season, giving real winter interest and a plant you can transplant later. The catch is timing: a live plant potted in December hasn't had time to settle its roots before the ground goes hard, and a rootball that never establishes is more likely to fail by February. Get live material in by the start of November.
Cut stems skip that problem entirely. Soak the soil thoroughly, push the boughs and branches in deep while it's still workable, and let the whole thing freeze solid -- the frozen soil holds every stem rigid for the rest of the season. It's the faster, lower-cost build, the one you compost without a second thought once spring containers go in.
The Material Warning Almost Every Winter Urn Skips
None of the above matters if the pot itself doesn't survive the season, and this undoes more winter containers than anything about the plants inside them. Terracotta and glazed ceramic are porous enough to hold water in the clay, and when that trapped moisture freezes, it expands -- no way around the physics. The pot cracks from the inside, often in a hairline you won't notice until a hard freeze finishes the job and a whole wall lets go.
Cast aluminiumA cast-aluminium urn won't crack the way glazed ceramic can when trapped moisture freezes and expands overnight -- frost-proof fiberglass, cast stone, and poly-resin hold up the same way. This is the one material decision that matters more than the plants you put in it.here's what actually happens →that's the whole story
Aluminium cannot rust, which removes the failure that ends most metal furniture. What it does instead is chalk: the finish oxidises to a fine white powder that comes off on your hand and dulls the colour. A wash and a coat of automotive wax restores it. It is also light — genuinely light — which is a virtue on a deck and a liability in a gale.
Upkeep: A wash and a wax each spring. Something to tie it down.
Placing a Pair to Flank the Door
A single winter urn works fine at a porch corner, but a matched pair at the front door photographs as finished, and it's simpler to pull off than it looks. Match the urns exactly -- same pot, same recipe, same height -- and set one on each side of the entry, close enough to frame the door rather than flank the whole porch. The repetition is what reads as deliberate.
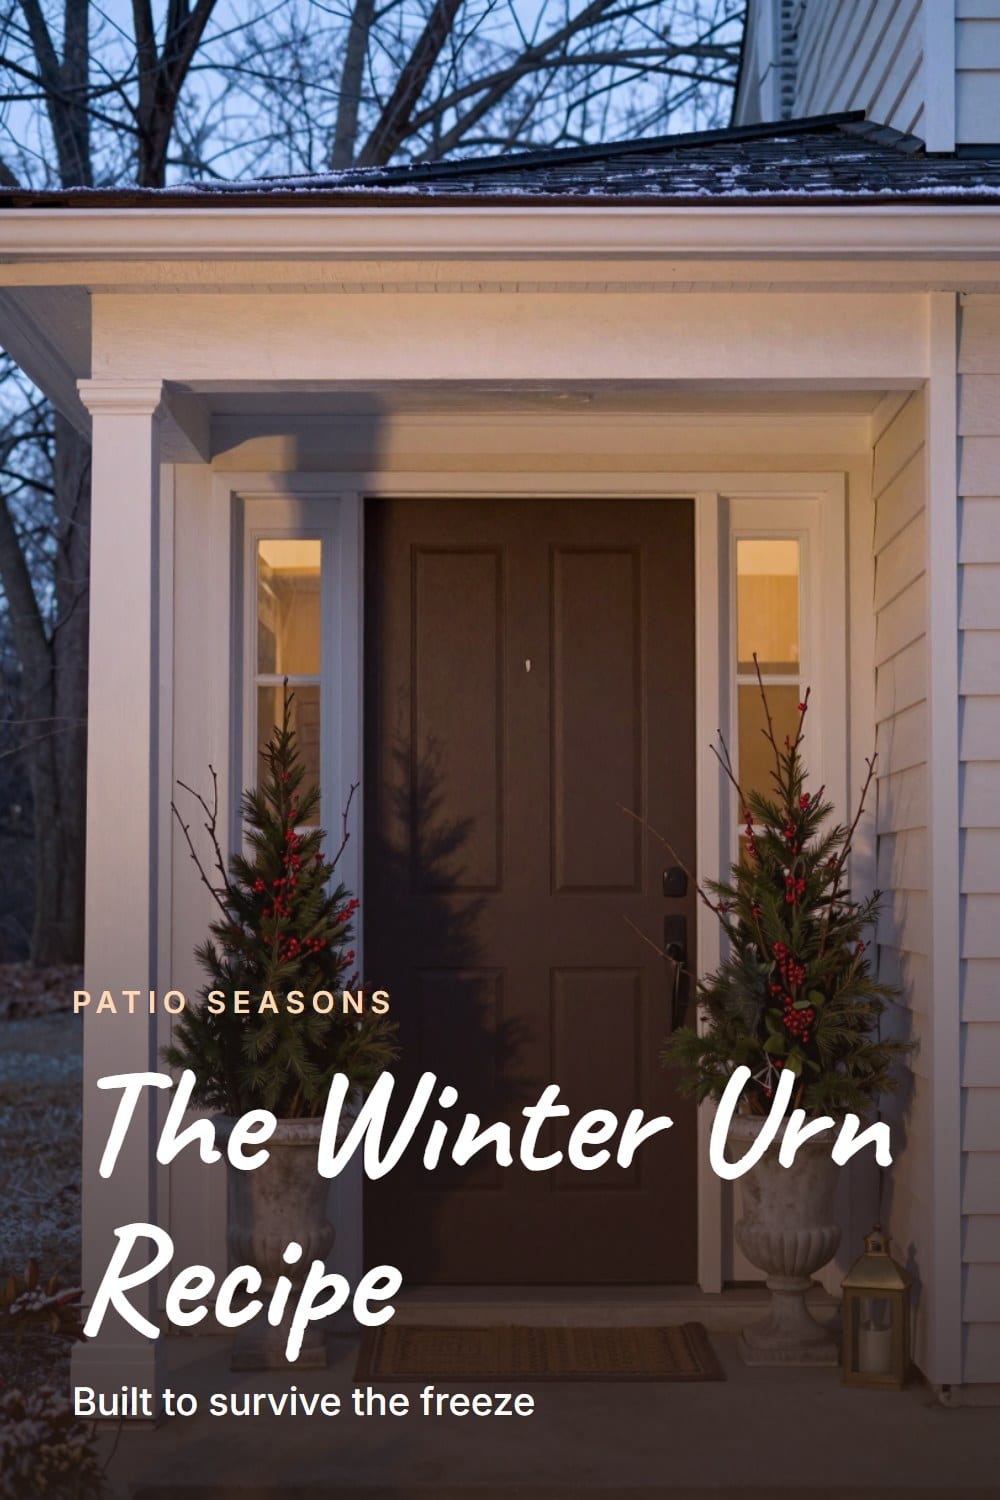
Scale the height to the door itself. An urn that reaches roughly a third to half the door's height holds its own next to the architecture without overwhelming or disappearing against it. If you haven't already tackled the furniture side of getting ready for real cold, winterizing the patio furniture is worth doing before you build the urns -- it's the harder job, and easier to finish before the ground freezes.
Refreshing Cut Greens Through the Season
A cut winter urn isn't plant-it-and-forget-it the way spring containers can be. Conifer boughs dry out and dull over ten to twelve weeks, especially in direct winter sun, so plan on refreshing the filler once, usually in January. Pull anything gone brittle or grey and replace it with fresh cuttings from the same shrub or a fresh bundle from wherever you bought the original.
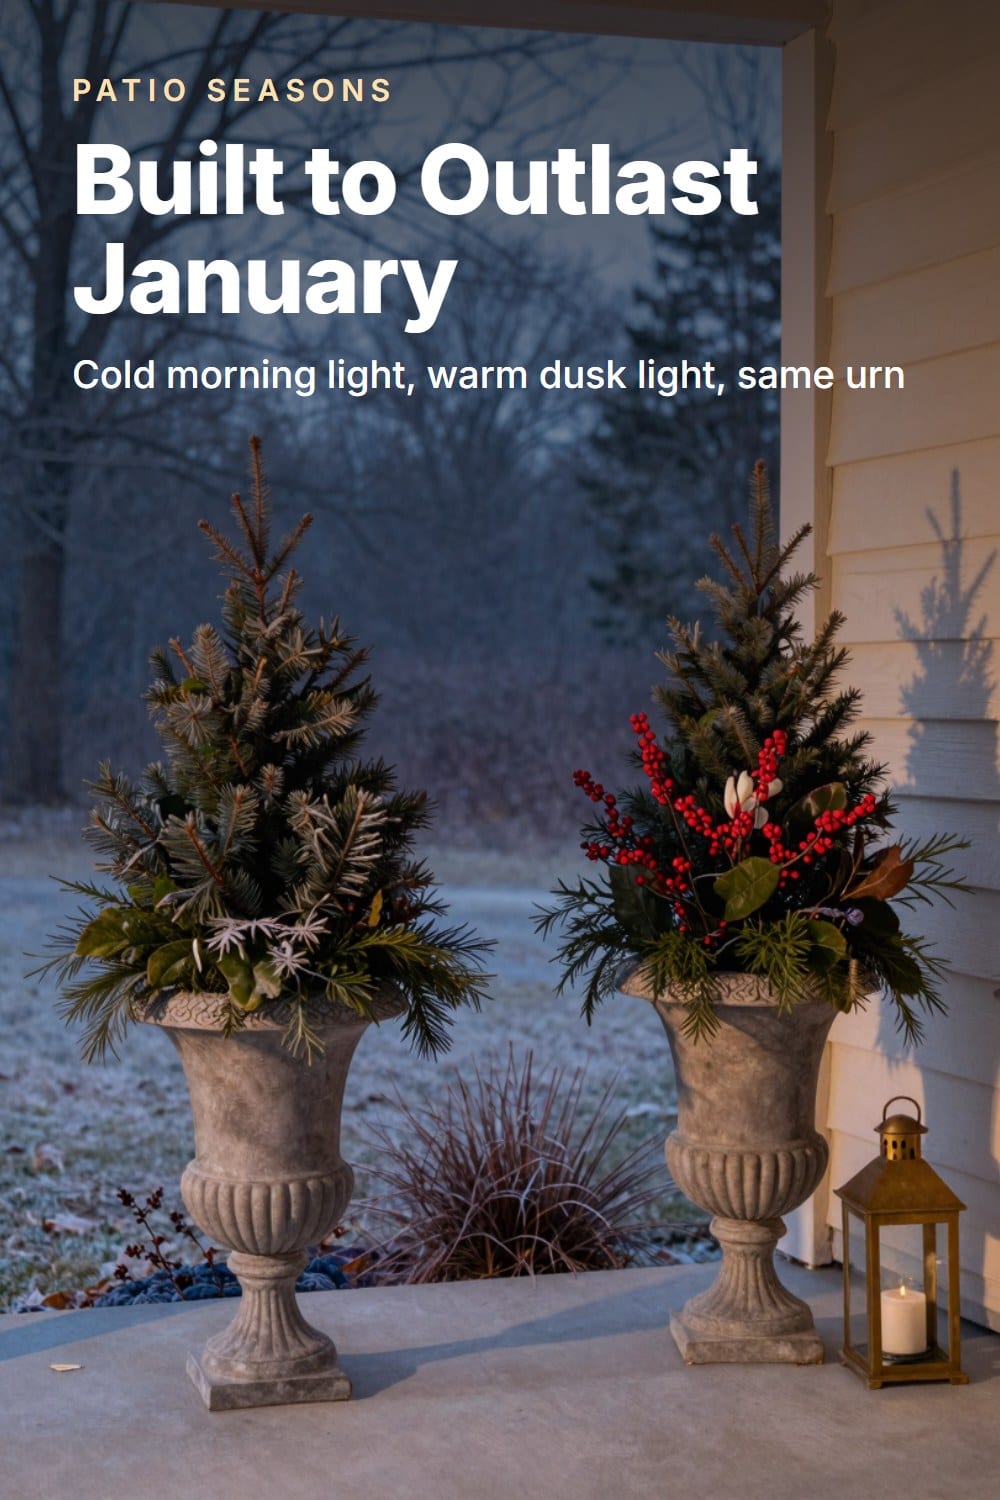
The branches and any live thriller don't need this refresh -- they're doing their job all season without help. It's specifically the soft green filler that fades first, and it's the easiest five minutes of maintenance the whole arrangement asks for.
Common Mistakes That Undo a Good Winter Urn
Most winter urns don't fail from neglect. They fail from small, avoidable choices made at the pot shop or on building day.
- Building in a terracotta or glazed ceramic pot -- it looks the part in October and cracks the first hard freeze it sits through
- Potting a live thriller too late for the roots to settle before the ground goes hard
- Skipping the branches for height and ending up with a flat, rounded mound that reads as a hedge clipping, not an arrangement
- Choosing three seasonal accents instead of one, so nothing reads as the focal point
The care calendar
The same urn, tracked from build day to its spring handoff.
- November
Build the urn -- thriller, filler boughs, spiller, branches, and one accent. Pot live material by early November so roots settle before the ground freezes.
- December-January
Water in before the first hard freeze if using a live thriller. Refresh dulled boughs once, mid-season; expect winterberry to drop gradually -- that's normal.
- February
The branches and any live conifer still carry the structure. This is the payoff stretch -- almost nothing else on the block looks this composed.
- March
Pull the cut greens once the freeze breaks for good. Transplant a live thriller into the garden, then swap the container over to spring planting.
The Winter Urn Recipe Card
The printable is being finished. It will live here, free, with no sign-up wall.
One Recipe, a Season's Worth of Presence
Build it this way once and the same urn carries the porch from the first hard freeze straight through to the point where spring containers make sense again. It's not asking for much -- one good frost-proof pot, a mixed layer of evergreen boughs, a few bare branches for height, and one seasonal accent that says winter on purpose. That's the whole recipe, simpler to build than a porch that still looks considered in February has any right to be.
Frequently asked
Will a live conifer survive being potted outdoors all winter?
How long do cut evergreen boughs actually last outdoors in winter?
Why did my glazed ceramic planter crack over winter?
Do I need floral foam to hold cut branches in place?
Sarah Whitmore
she keeps the teak, she oils it in spring
Sarah has furnished the same porch three times and finally stopped. She writes about what actually survives a decade outdoors — which wood silvers, which fabric fades, and which inexpensive piece quietly reads the same as the expensive one.
SarahMore from this corner
 Patio Living
How to Protect Teak Furniture in Winter (What Actually Needs Doing — and What Doesn't)
Teak has a reputation as the fussy, high-maintenance wood on the patio. It's actually the opposite -- one of the only materials built to winter outside without a second thought, as long as you stop treating moisture and cold as the same threat.
Oct 30, 2026 · 10 min read
 Patio Living
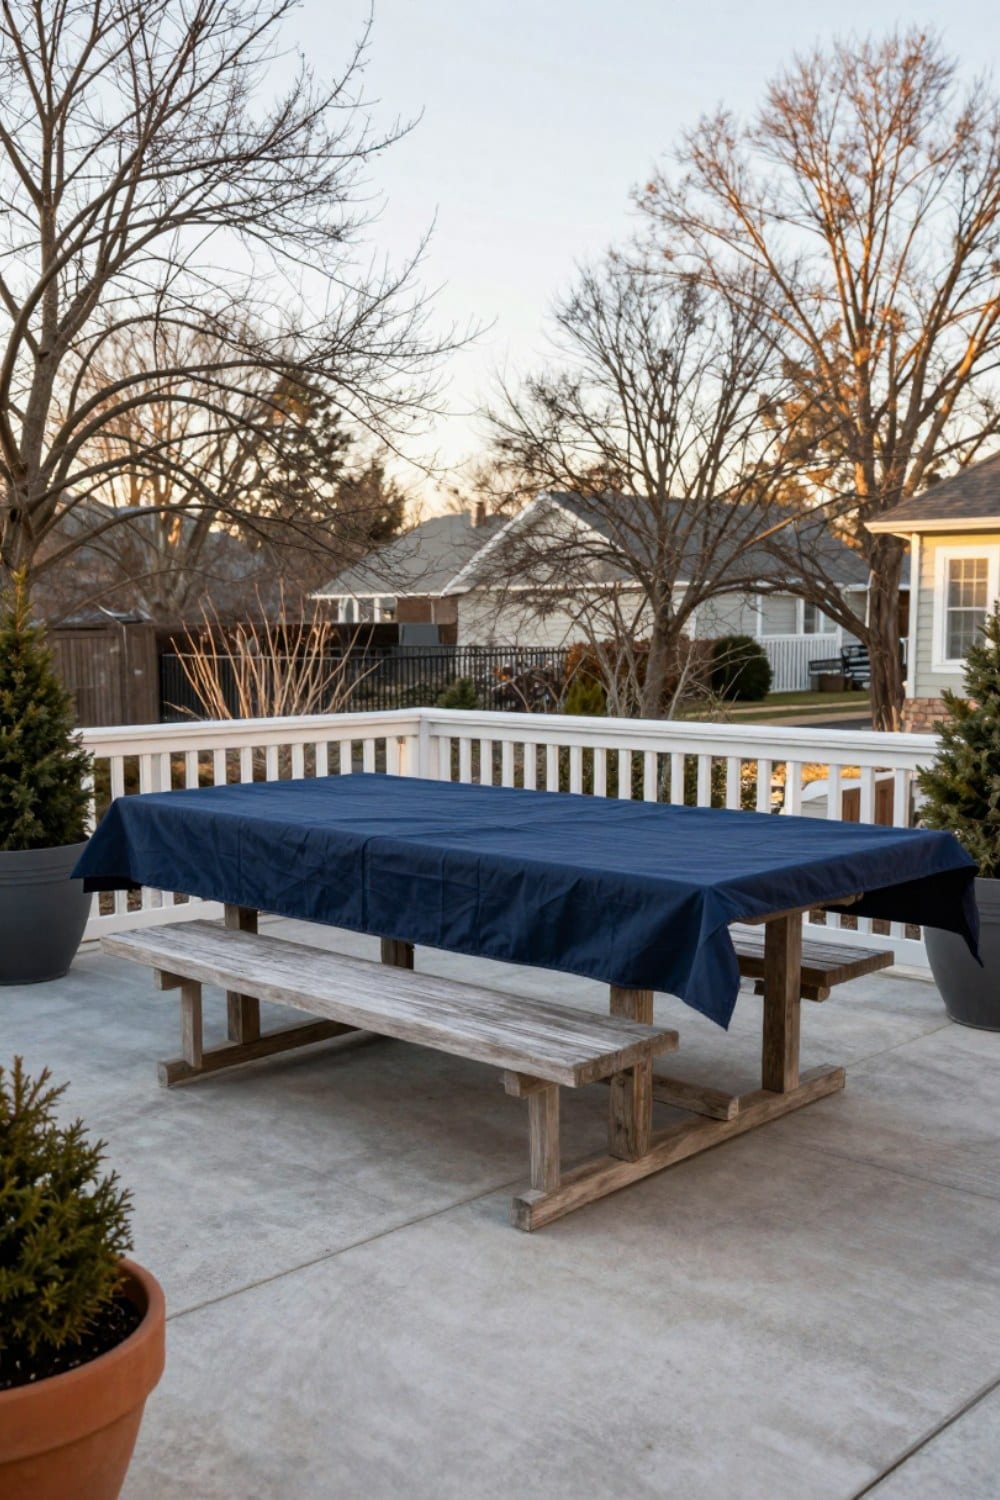
How to Winterize Patio Furniture the Right Way (So It Comes Out Perfect in Spring)
Winterizing patio furniture isn't complicated, but it does ask you to treat every material differently. Here's the material-by-material sequence -- clean, dry, cover or store, elevate -- that keeps teak, aluminium, and wicker looking right through to spring.
Jan 24, 2026 · 11 min read
 Patio Living
How to Store Outdoor Cushions for Winter So They Come Out Spotless
Mildew doesn't come from cold, it comes from moisture sealed inside the foam. Here's how to dry outdoor cushions completely and store them somewhere breathable, so they come out in spring looking like you just bought them.
Jan 15, 2026 · 9 min read